Follow these steps to setup the controller and achieve initial motion.
Wiring
Connect the motor leads from your bipolar motor as shown on the label for Mtr 1. The Mtr 1 plug is the lower plug.
Wire a 24 volt power supply to the controller. The power plug is the upper plug. Supply return goes to the GND pin. Positive 24 volts goes to Logic Pwr, Mtr Pwr, and In Common.
Place a loopback cable as shown on the side connector. This satisfies the EStop circuit which is necessary to permit motion.
Apply power to the controller. The green "heartbeat" LED should start blinking after about 3 seconds . The heatbeat LED needs to be blinking before the controller will respond to software. If you encounter a problem the first question support will ask will likely be "Is the heartbeat LED still blinking? Was there any deviation to the blink pattern during the problem?".
Set Communication Parameters
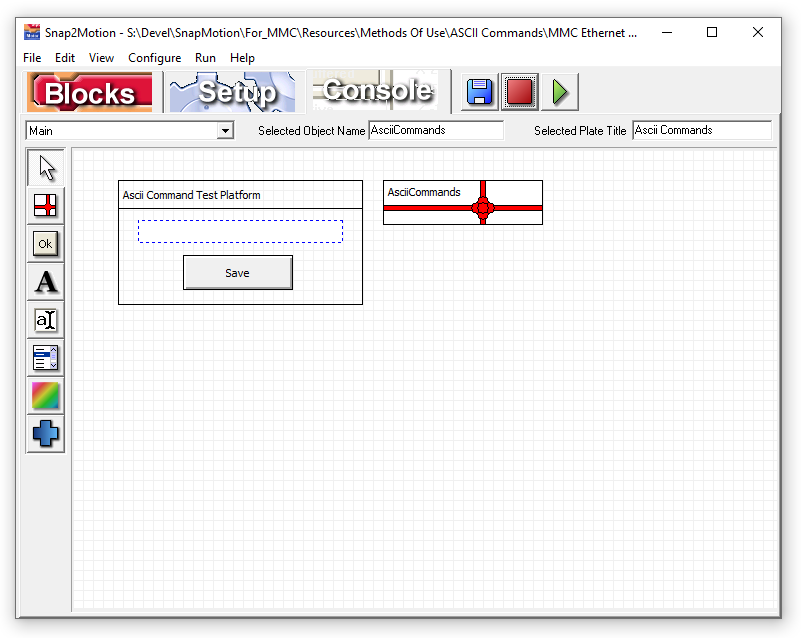
Select "File | Open Software Components..", go into the Methods Of Use directory and identify the type of Ascii Command Interpreter needed. Below is the view of the TCP/IP version:
Click the "Play" button and wait for the status to indicate "Running":
Use "Ping" to Confirm Network Configuration
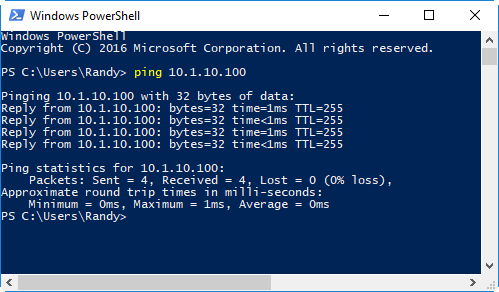
Once the program is running we can use the "ping" command to confirm that the PC is able to connect to the controller over TCP/IP. Open a command line or PowerShell and type in the ping command:
If you do not get a ping response confirm that you have a cable plugged in and are seeing the green activity lighto on the Ethernet connector. Confirm that the PC is on the same subneet with a non-conflicting IP address.
Use Telnet to Issue Commands
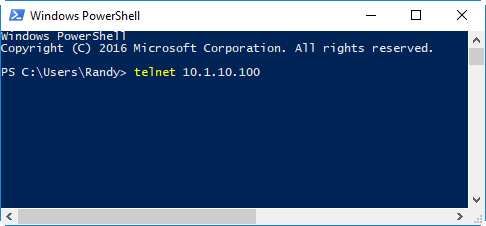
Confirm that you have your computer's IP address on the same subnet as what was chosen for the controller's IP address. Plug in an Ethernet cable and confirm that you see the characteristic green blinking light indicating Ethernet traffic. Open a command or Power Shell window and initiate a telnet session by providing the IP address:
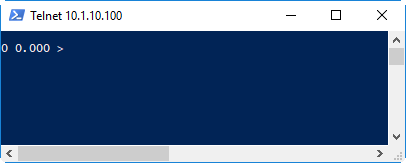
Press "Enter" and the following response should be seen:
The first "0" indicates that no error occurred in handling the command. The second floating point 0 is the value of the response which in this nop command case is 0.
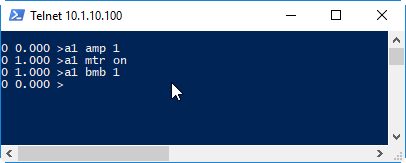
Now type in the following 3 commands and the motor should turn one rotation:
The first command means "Axs 1 set current to 1 amp". The second command means "Axis 1 set the motor to be on". The third command means "Axis 1 begin move by 1 rotation". Additional commands and parameter details are the command reference section of the manual


