Follow these steps to setup the controller and achieve initial motion.
Wiring
Connect the USB plug to a PC port and the 9 pin DSub connector to the "Comm" plug on an Animatics power-comm cable. Connect the power-comm cable to one Smartmotor or multiple Smartmotors using the add-a-motor cables. The Cub is powered by the USB cable and should show a green blinking "Heartbeat" indication when plugged in. The heatbeat LED needs to be blinking before the controller will respond to software. If you encounter a problem the first question support will ask will likely be "Is the heartbeat LED still blinking? Was there any deviation to the blink pattern during the problem?".
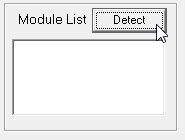
Detect Motors
Click the Setup Tab
Click the "Detect" button
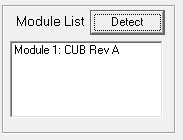
After sine preparation time the Cub should be shown as the first Module in the Module List
There will be a momentary message indicating the Master software is being prepared
This is followed by a momentary message notifying that the Cub is trying to detect motors
The Module List is updated showing detected motors
The SmartMotor is considered a controller with axis and IO resources. Note that the axis of motion is now listed in the Named Axis Groups
Make a Console Button
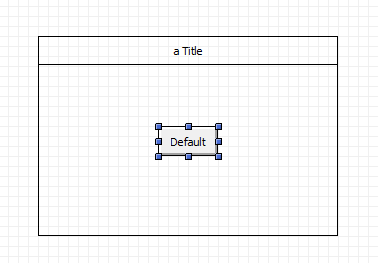
Click the Console Tab
Click the Button Tool
Click inside the default form to create a default sized button or drag a rectangle over the form to create a button of any size.
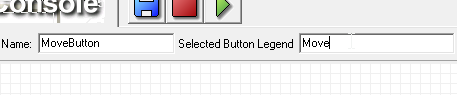
With the button still selected click on the Legend Editor and change the name to "Move"
Note that the button name field to the left changes to "MoveButton"