Follow these steps to learn how to read an input signal.
Configuration
Inputs can respond to sourcing signals (PNP, switch closure to +24) or sinking signals (NPN, switch closure to ground). Examine your sensors and determine if the controller inputs need to respond to sourcing or sinking type. It is simplest if the sensors are all the same type. If the sensors are not a all the same type contact support for additional information to support your particular sensor configuration.
If you have sinking inputs then wire "In Comm" (Input Common) to 24 volts and your sensor to the input:
If you have sourcing inputs then wire "In Comm" (Input Common) to return and your sensor to the input:
Using the Setup Tab to Name Inputs
Click the Setup Tab
Setup provides a means to name and configure available resources. Click the "Play" button. This will connect the software to the controller so that the software is aware of what resources it has to offer.
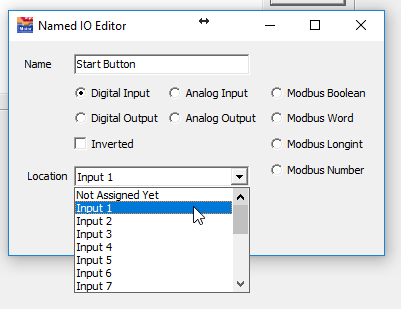
In the Named IO area there are some examples. Click on one of the examples to edit, or click on "Add" to make a new Named IO resource. A Named IO Editor appears. Use this editor to describe an input named "Start Button"
There is an "Inverted" checkbox available. Sometimes the logical meaning of an input is opposite the electrical meaning. For example, a through beam home sensor may be electrically active when the interrupting flag is absent but turn off when the flag is present. In this case checking "Inverted" would make sense for an input named "Home Sensor Active" since the logical meaning is opposite the electrical expression.
When the properties have been set click the "Ok" button. A summary of the Named IO point is now shown in the list:
Displaying an Input
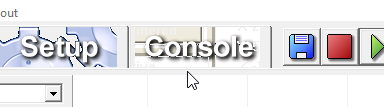
Even though programming is being done in a text language there are occassions, such as displaying a value, where blocks are very convenient. Click on "Console" tab and select the text tool:
With the text tool chosen click inside the rectangular form, or drag a rectangle within the rectangular form, to produce a dotted rectangle that looks like this:
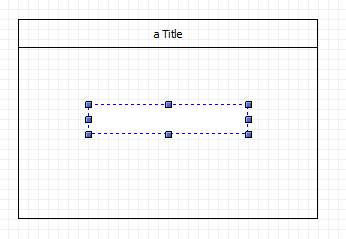
With this dotted rectangle still selected click the "Blocks" tab. A text display has these events available:

Drag the event containing the diamond shape onto the workpage
Click on the red "I/O" block category and note that there is a diamond shaped expression block with the name "Start Button":

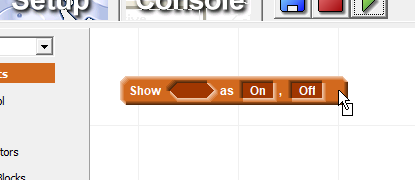
Drag this expression over to the Show block and drop it into the diamond shaped location:

Click on the string field to the right of the "as" text and compose what is shown when the start button signal is active:

Click "Ok" and note the modified text is shown in the block:

Click the "Play" button and trigger the sensor. You should see the display change between the text "Start Pushed" when the input is active:

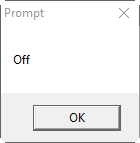
and "Off" when the signal is inactive:

Using Named IO in a Text Program
Click the Console Tab
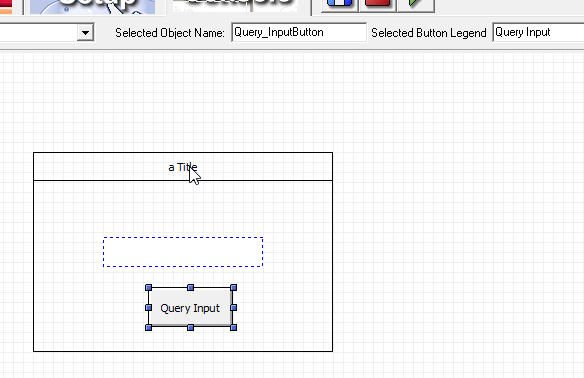
Click the Button Tool
Click inside the default form to create a default sized button or drag a rectangle over the form to create a button of any size.
With the button still selected click on the Legend Editor and change the name to "Query Input"
Edit the Button Click Procedure
Double click on the button to produce the button property editor:
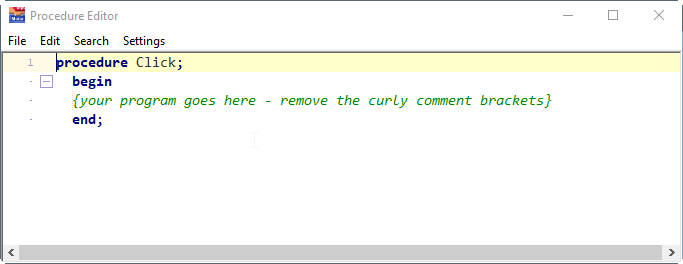
Select "Procedure Click" from the list of Button Events. This is the procedure called when the button is clicked on. This produces a text editor:
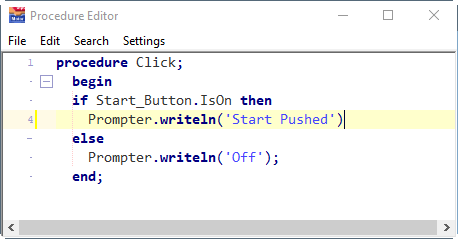
Comments start with a left curly bracket, end with a right curly bracket, and are shown in the syntax highlighting editor as green. The comment is indicating where program statements need to be placed. Delete the comment and replace with the following three commands:
The Named IO described in setup can be referenced by name in a text program. In Setup the name had a space. An underscore has been substituted and must be used since names must not have spaces. The Prompter is a message-box like device that can write strings and values. The program blocks until the prompter has been acknowledged.
Click the "Play" button and wait for the status to indicate "Running":
When the program starts click on the "Query Input" button with the signal both asserted and unasserted. When asserted this is seen:

When the button is not pushed this is seen: