Follow these steps to setup the controller and achieve initial motion.
Wiring
Connect the motor leads from your bipolar motor as shown on the label for Mtr 1. The Mtr 1 plug is the lower plug.
Wire a 24 volt power supply to the controller. The power plug is the upper plug. Supply return goes to the GND pin. Positive 24 volts goes to Logic Pwr, Mtr Pwr, and In Common.
Place a loopback cable as shown on the side connector. This satisfies the EStop circuit which is necessary to permit motion.
Apply power to the controller. The green "heartbeat" LED should start blinking after about 3 seconds . The heatbeat LED needs to be blinking before the controller will respond to software. If you encounter a problem the first question support will ask will likely be "Is the heartbeat LED still blinking? Was there any deviation to the blink pattern during the problem?".
Make a Console Button
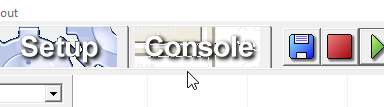
Click the Console Tab
Click the Button Tool
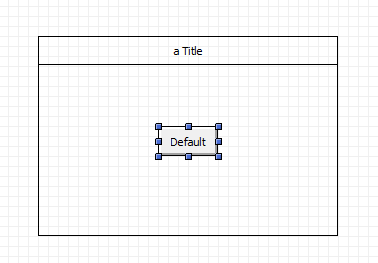
Click inside the default form to create a default sized button or drag a rectangle over the form to create a button of any size.
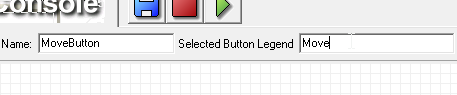
With the button still selected click on the Legend Editor and change the name to "Move"
Note that the button name field to the left changes to "MoveButton"
Make a Block List
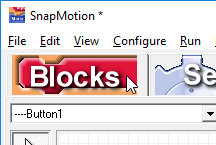
Click the "Blocks" Tab
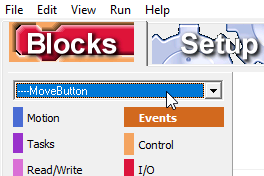
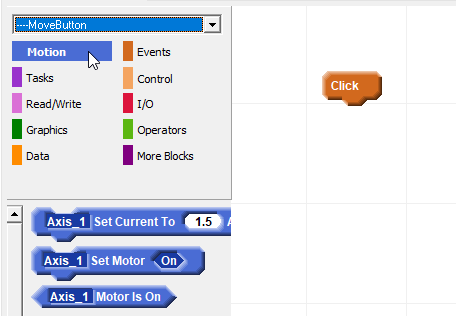
The list below the Blocks Tab should indicate the item last select in the Console View. If "MoveButton" is not currently shown then select it from the list:
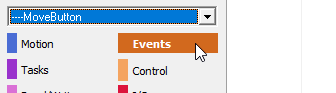
The graph paper like workpage is for the selected object, the MoveButton. Now click on the "Events" catagory:
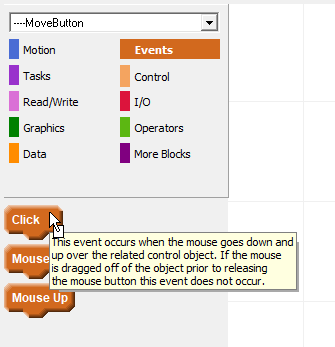
An Event is something that commences activity. Events are at the top of a list of blocks and indicate under what conditions that list of blocks is performed. The types of events offered depend on the type of object currently selected. Buttons have these events:
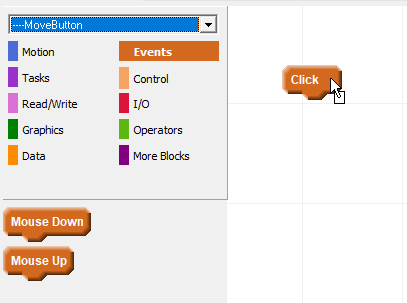
Drag the Click block from the list of blocks on the left over onto the workpage:
Now click on the "Motion" catagory"
Drag the Set Current To block over to the workpage under the Click event. Find a part of the block that is raised to drag it. Lower features are fields where clicking permits value selection. As you drag the block near the other block you'll see a horizontal bar style cursor indicating that the two will snap together if you release from this location:
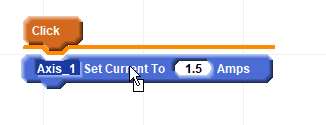
When you release the mouse the block will snap into position below the Click event:
If there is any doubt that the blocks are snapped togher drag the top block and blocks linked below will travel with it:
Change the value of the current by clicking on the while oval that includes the number. A keypad will appear allowing the value to be changed:
When a new value has been entered click "Enter".
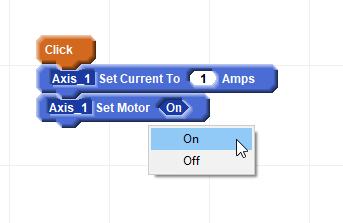
Drag the Motor On block under the "Set Current" block. Confirm that the diamond field indicates "On". If not, click on the field to indicate On:
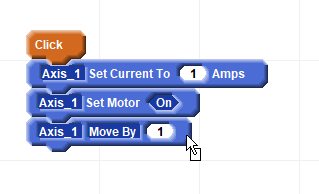
Drag the Move By block under the "Motor On" block closely to snap them together:
Click the "Play" button and wait for the status to indicate "Running":
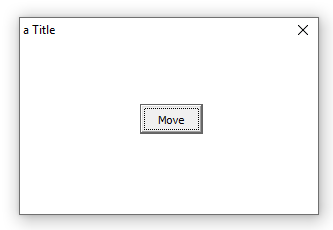
A small windows form should be provided displaying the Move button:
Click on the Move button and the motor should turn one rotation